Tool Shed Update: Mythbusting Your To Do List
Everyone has a busy season. The retail community is approaching their busy season, CPAs are swamped during tax time, and a majority of those in the Recreation Profession feel the crush during the summer months. This is a generalization and there’s no doubt that ones busy season can vary depending on your branch and/or project load. However with regards to the Rec Professional, this spring/ summer was no different for this humble public servant. Last summer I wrote about the figurative tools in our tool shed, and how having the correct tool makes all the difference. I’ve always been big on using lists to help organize and keep my due dates and tasks in the forefront. However, my tried and true list system was failing me. I needed an upgrade! The number of tasks I was adding to my list kept growing and items were getting buried as new additions were creeping into the margins. I found myself scanning my lists repeatedly to make sure I wasn’t overlooking something. Not efficient. Not productive. Fortunately for me, I stumbled across an update that would enable me to glance at my sheet and have a cleaner grasp at the days work ahead. Adam Savage of “Mythbusters” fame was discussing a listing method he uses to keep track of his projects. This is the part of the blog where you may be asking, “Is this guy comparing, not forgetting to order port-a-johns to the certified smarty pants that built a working Iron Man suit?” Guilty as charged. I can get pretty dorky about my lists, so this may be more impactful for me than others. On the plus side, it’s incredibly simple to implement! The system in a nutshell is as follows: (i.e. get ready for some hot list talk) Instead of numbering or making a dash or dot beside the items in your To Do List, draw a little box to the left of each task. Use that box to then illustrate the completion process of that task. For instance, if you’re half way done with a project, shade that box in half way. If you’ve only just begun a task, shade the box a quarter of the way.
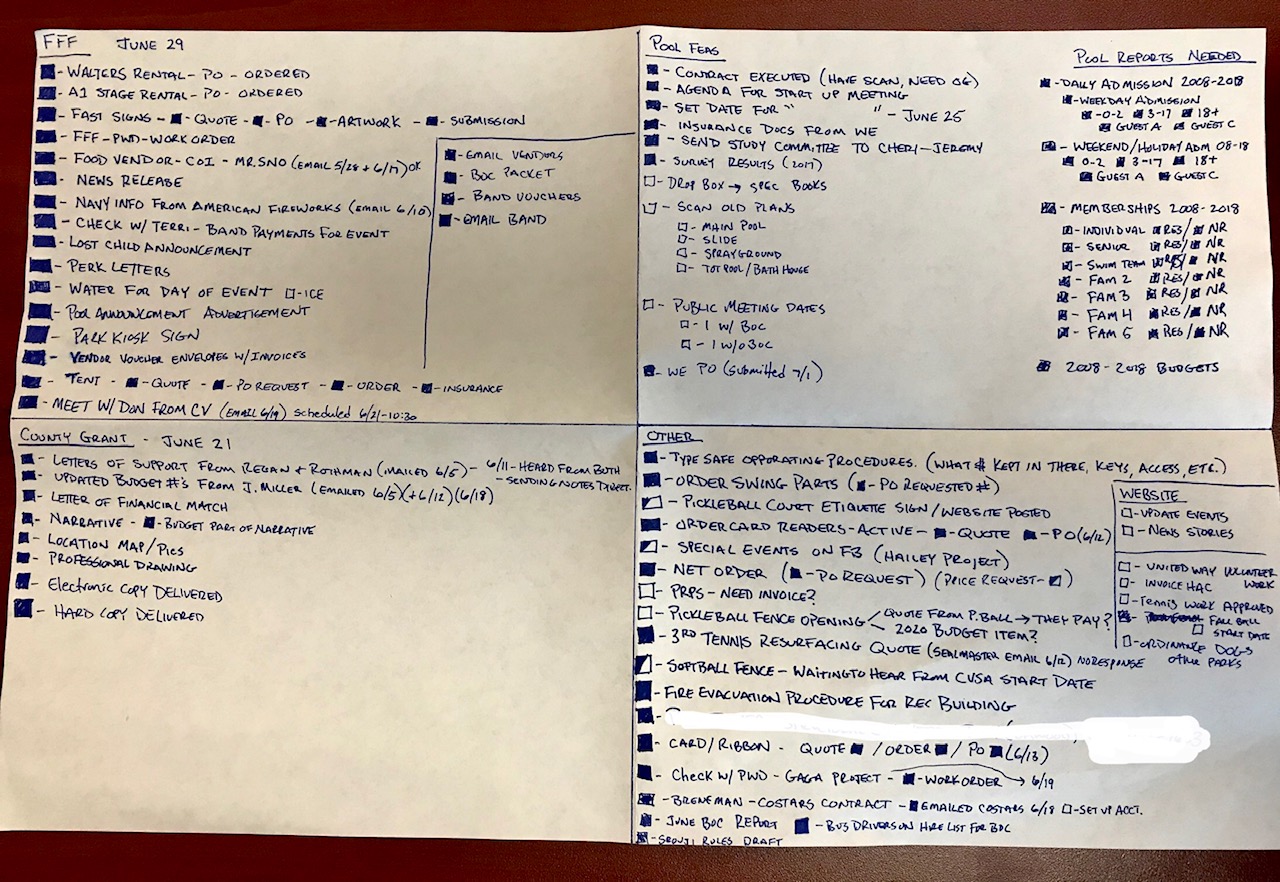
 I fell in love with the clean look of this easy-to-grasp method. Where in the past, when I completed a task, I was sloppily crossing out the task and my lists became muddled and not reader friendly. With the box method, when a task is complete, the box will be completely shaded in and I still have complete visibility of what the task was. See Wired article for more details.At the time of this discovery, I was working on special event prep, writing a grant, working with consultants on a pool feasibility study, and trying not to lose track of my everyday responsibilities. I ended up making an 11 x 17 mega list with four quadrants and then implemented the box listing to those quadrants depending on the topic. Top left was Fun Food Fest, bottom left was my grant, top right was the feasibility study, and bottom right was everything else.
My pride and joy.
This solution clearly tickled me, as I’ve now written a 500 word love letter illustrating the virtues of a To Do List. (Sorry ladies, I’m off the market!) Not only did the boxes help keep me on task and organized, I felt the satisfaction of seeing those boxes fill up as tasks were closed out. The wired article listed above also discusses the momentum building that occurs when you mentally see yourself completing task after task. I know there are more organized individuals out there than myself, and there surely are tweaks that can be made to this. (Shout out to the four-color pen club and your color coding ways!) I like to joke, but I sincerely hope this silly simple solution may increase your productivity. Share your favorite organization tips in the comments, and let’s keep our professional tool shed growing!
